
MEMS Packaging: How to Balance Sensor Access, Protection and Package Stress
Start a MEMS packaging review by drawing the path from the outside world to the sensing element. What is supposed to get through? What must stay out? A pressure port and an optical window solve different problems, while an inertial sensor may have no opening at all. The package has to accommodate the sensing mechanism, not just fit around the die.
There is a second drawing worth bringing to the review: the assembly sequence. Die attachment, curing, lid sealing and board mounting can change the conditions around a mechanically sensitive device. A result measured on an unattached die doesn’t settle how that device will behave in the finished product. Evaluate the route to the finished assembly as well as the package itself.

Write the required input and the unwanted exposures separately. For a pressure device, that means naming the medium and tracing where it will go, including the surfaces it can wet or contact. For optics, carry the wavelength band, aperture and alignment requirements into the window specification. An acoustic sensor needs a sound path whose behavior belongs in the system design.
“Open” and “sealed” are too broad to serve as specifications. A sensor can need environmental access at one interface while requiring protection for bond wires or nearby electronics. Conversely, a cavity can need a controlled internal atmosphere without allowing the external medium to enter it. Draw the complete path through the package and the final product housing.
DEEPETCH’s customisable sensor series is a starting point for identifying the sensing requirement. Agree on the actual device and operating environment before selecting a port, window, cavity or protective arrangement.
| Sensor requirement | Package feature to evaluate | Question for design review |
| Pressure access | Port, interface and compatible exposed materials | What medium reaches which surfaces |
| Optical access | Window, aperture and alignment features | Which optical properties must be maintained after assembly |
| Acoustic access | Sound port and surrounding acoustic path | How does the final housing affect the response |
| Protected moving structure | Cavity and clearance around the active element | What motion and environmental conditions must be preserved |
Does this particular device need a hermetic cavity? Answer that before specifying one. Closing a sound port would defeat the purpose of a microphone, while a different structure may depend on a controlled atmosphere inside a closed cavity. The word MEMS doesn’t resolve those differences.
If a hermetic seal is needed, ask how it will be accepted. The answer needs a test method and limit for the proposed cavity, including any conditioning before the measurement. A drawing note that just says “hermetic” leaves too much to interpretation. Moisture resistance, exposure to a particular medium and mechanical survival need their own relevant evidence; don’t bundle them all into the meaning of a leak-test result.
For optical access, “transparent window” is incomplete. Transparent at which wavelengths, and with what surface and coating requirements? Record those alongside the alignment tolerances. Then review how the window will be attached and kept clean through assembly. A material selection and a finished optical path are not interchangeable pieces of evidence.
Drawings can make the die look isolated inside its cavity. Start at the underside of the die, though, and you can trace a chain of attachments out to the board. Cure shrinkage, temperature changes and mounting loads can affect that chain. Whether the effect is acceptable has to be judged against the sensor’s response, not against the appearance of an intact package.
For an inertial sensor, include the board and its mounting points in this review. Moving a support or tightening the board into a different housing changes the mechanical situation around the package. That is a reason to test the intended board and housing together. Note nearby heat sources too. A temperature difference across an assembly deserves attention even when no part has been changed.
Start the drawing review with the die attachment region and trace the load path outward. Look for the surfaces that prevent movement and the joints that must accommodate expansion. Record attachment thickness, footprint and cure conditions. An adhesive name alone is not a process specification, and changing it may require another assembly evaluation.
A useful development comparison measures the same defined response before and after a controlled assembly step. Suppose a response shifts after attachment. Investigate the attachment step with the other conditions held fixed. Replacing the substrate, changing the adhesive and moving the supports all at once would leave you unsure which change mattered. The example describes an evaluation to plan, not an improvement already demonstrated.
There is no useful material winner without an application. Check the proposed material alongside the interconnect and seal processes. Can the exposed surfaces tolerate the intended medium? Does the attachment scheme accommodate the relevant expansion differences? Apply those questions to ceramic, metal and plastic-based candidates alike. The answer may rule an option out long before its other properties become relevant.
Keep the material comparison tied to the interface. If the part is a window, examine the optical data for the intended wavelengths. If it is exposed to the pressure medium, review that material-medium combination. Cleanliness, moisture behavior and thermal expansion may cut across both. Avoid comparing a room-temperature material value with a package-level result obtained under a different condition.
When discussing a device from DEEPETCH’s sensor chip portfolio, bring the proposed package cross-section as well as the chip requirements. Ask which assembly steps are included in the offer and who is responsible for testing them. Confirm the process against that project drawing before assuming it is covered by a general product listing.
“Clean and protect the part” needs more detail on a sensor assembly. A protective coating must not obstruct a port that is meant to stay open. A handling film must be assessed against the window surface it touches. Put such restrictions on the drawing and obtain the device supplier’s cleaning and handling instructions before choosing the process. Exposed moving structures deserve particular attention.
Document the intended sequence of die attachment, interconnection, closure and board assembly. If a feature will be hidden by the lid, decide what must be checked before closure. If the concern is a change in sensing response, an external photograph won’t answer it. When considering inspection and probe equipment, assign each check to the assembly stage where it can produce the required evidence.

What result would cause you to reject a sample? Write that down with the measurement procedure. For a concern about offset or sensitivity, name the relevant stimulus and how it is applied. For an optical device, define the optical setup. Include the temperature conditions and acceptance limits. The point is to make the before-and-after comparison repeatable, not merely to collect a longer list of parameters.
Compare relevant results across assembly stages. Keep sample identity and configuration changes traceable. Mark calibration on the same process sequence. If the calibrated part will subsequently be soldered, mounted or exposed to another environment, the plan still needs a check after those operations. A successful calibration is not a result for work that hasn’t happened yet.
DEEPETCH’s customisation and sample-evaluation process provides a point at which to review the sample against the inquiry. Bring the drawing revision and test procedure to that review. If they don’t describe the sample being accepted, resolve the mismatch before treating it as approval for production.
It is fine for an inquiry to contain open questions. If the port location is undecided, sketch the intended pressure path and ask for a proposal. Have the supplier return a cross-section with the assembly sequence. An outline drawing alone gives you little basis for reviewing access to the sensor inside.
No. A sound port, pressure interface and sealed resonator cavity serve different purposes. Follow the requirements of the actual device when specifying the seal, including any controlled atmosphere inside a cavity. Don’t add hermeticity merely because the device is described as MEMS.
It can. The board is mechanically connected to the package, so its mounting and temperature changes may affect a stress-sensitive device. Measurements made before board assembly don’t resolve that risk; include the intended board and housing in the evaluation.
It establishes performance under the wafer-test conditions. It doesn’t test the effects of packaging and mounting that follow. Keep the wafer data as a reference, then select checks for the later steps that could change the device response.
For a project review, contact DEEPETCH with the die drawing, environmental requirements and proposed package cross-section. Include the open questions on the assembly sequence. That makes it possible to discuss a specific interface or sample trial instead of asking whether MEMS packaging, in general, is supported.

Molybdenum copper composite: adjustable CTE, high conductivity, lower density than tungsten copper. No...

Tungsten copper composite: low CTE, high conductivity. Ideal for RF, power, optical packaging.

Diamond-aluminum composite for advanced thermal management. Lightweight, high thermal conductivity, low...
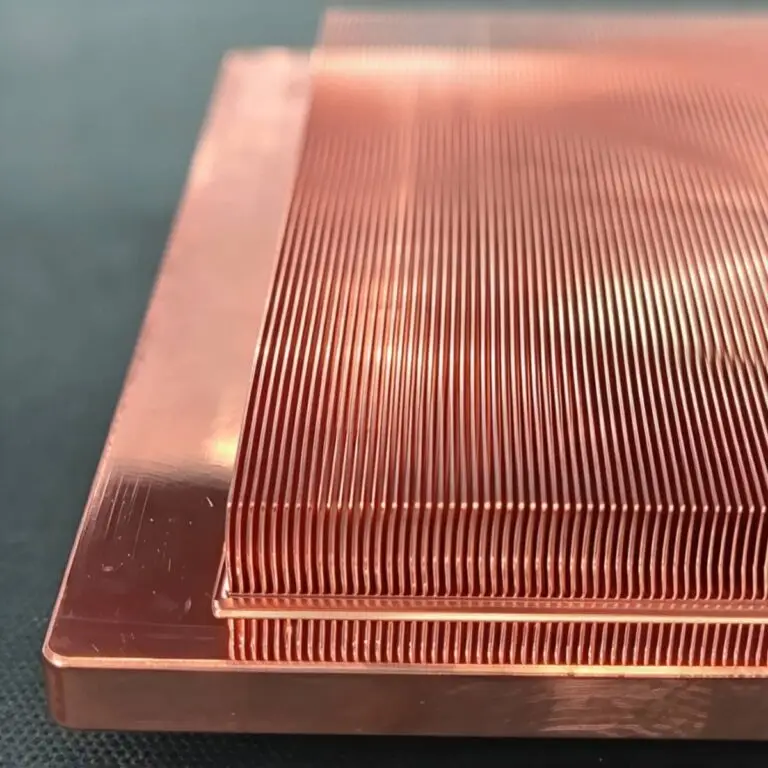
Diamond-Copper Thermally Conductive Composite. High thermal conductivity, tunable CTE, robust.
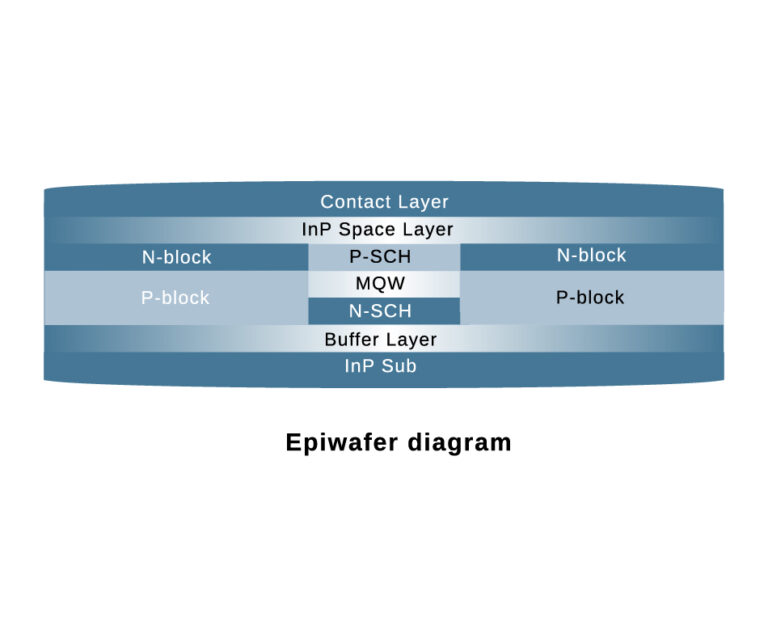
The DE-CW-1310 DFB EPI wafer, a high-performance epitaxial structure designed for distributed feedback (DFB) lasers operating at 1310 nm....
Ceramic thin-filmvacuum sensor Optical gas massflowmeter Liquid mass flowmeter Force sensor MEMS...
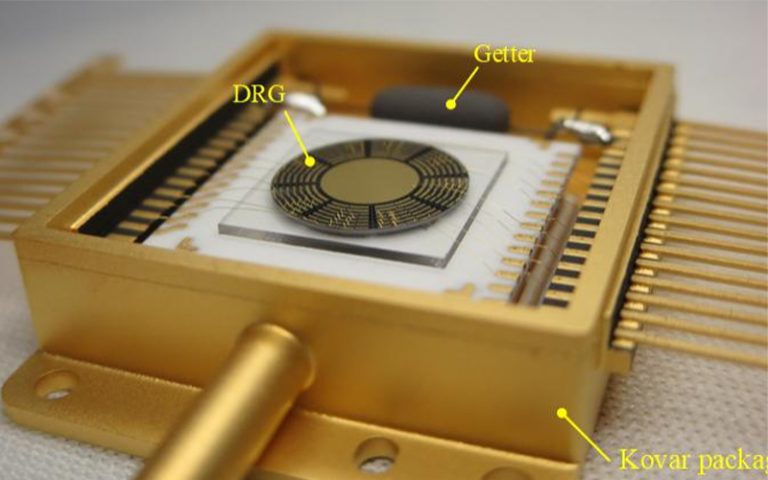
Photoelectric sensing chip Light source chips Optical transmission and modulationchips Optical detection and receptionchips...
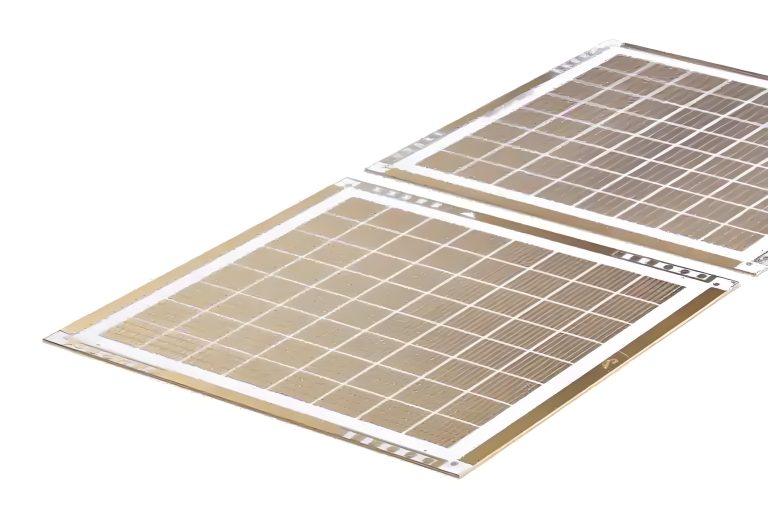
Using a“Detach Core”which has two-layers carrier foil structure on the surface as a core, and forming...
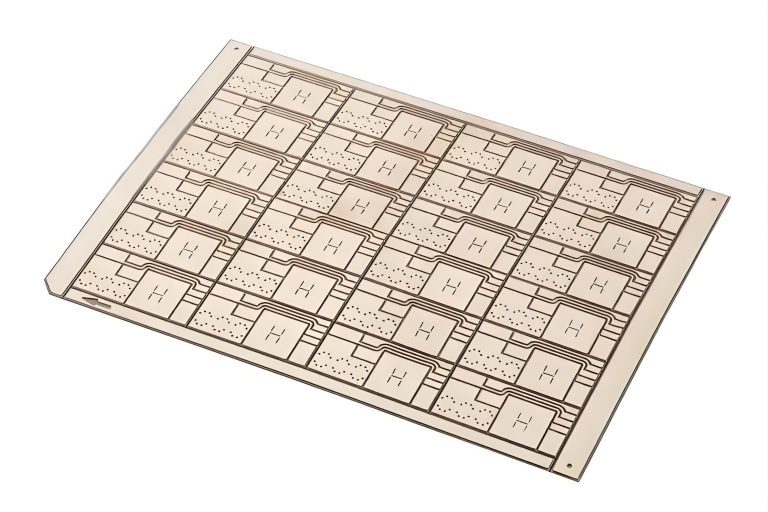
Tenting process is a kind of subtractive process, the process as follows: Laminating photosensitive film...
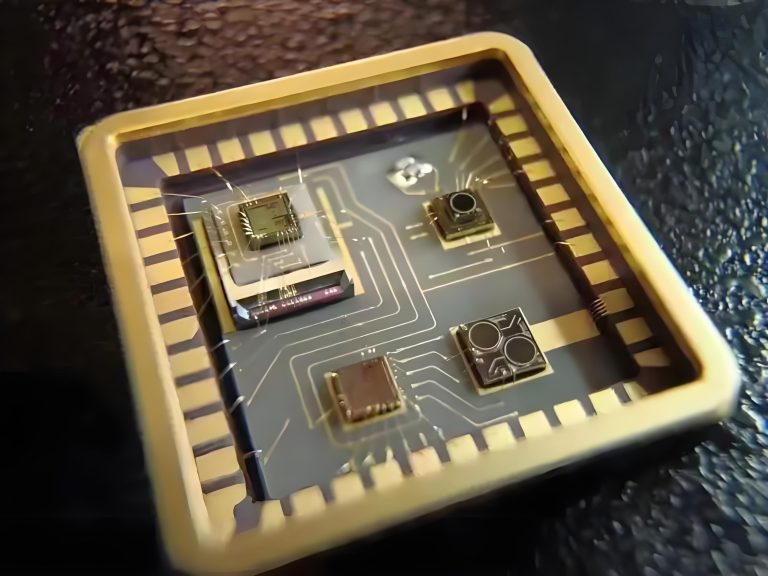
Modified Semi-Added Process abbreviated as mSAP, which can be used on the core or build-up layers, pattern...