
A wafer prober should be selected around the device, contact method and measurement task. The wafer drawing tells a supplier what has to fit. The pad drawing and test procedure explain what has to work. Send all three with the inquiry. Can the proposed probes reach the pads? Getting contact once isn’t the end of the evaluation. Repeat the measurement through the intended temperature sequence and inspect the pads against the damage limits agreed with the device team.
Before comparing prices, look for the probe card and test-head connection in each offer. Are they supplied, excluded or left for you to integrate? Put an owner beside each interface in the scope of work.

The prober moves the wafer into position for contact. A probe card, or a set of individually adjusted probes, makes the electrical connection to its pads. Follow the cables from there and you reach the tester or measurement instruments. This is where the electrical signals are applied and measured. The software has to coordinate that activity with the die locations.
A price for the prober may leave some of that signal path outside the order. On the connection diagram, mark the equipment you already own and the items you expect the supplier to provide. Include it when asking about DEEPETCH’s probe station equipment. Check cables, software licenses and installation work against that diagram before comparing totals.
Optical inspection equipment may reveal a visible defect. Leakage current, however, needs an electrical measurement. Specify what the AOI is expected to find and what the connected instruments are expected to measure; one result cannot stand in for the other.
Send a controlled drawing rather than a device name alone. Add the material and backside details to the dimensioned views, with the permitted thickness range and orientation features. Say whether the samples are full wafers or smaller pieces. That small clarification can change the fixture discussion considerably.
The pad drawing needs pad dimensions, pitch, passivation openings and the intended contact pattern. Mark keep-out regions on the same drawing. A probe supplier needs to see the fragile structures near a pad, not merely the pitch between contacts. Review any unusual surface features before approving the mechanical arrangement.
For sensors, add the light source or pressure connection to the fixture sketch. Where would it sit? Will the probe hardware obstruct it, or interfere with a moving structure? These are useful questions when discussing a device from DEEPETCH’s sensor chip series, and they need answers for the actual device being tested.
Guarding and shielding belong to the low-current measurement setup; RF calibration belongs to the RF path. Neither can be inferred from a positioning figure. Put the requirements beside the relevant test in the instrument list. For resistance measurements, for example, establish whether the method requires separate force and sense connections before choosing the contact arrangement.
Overtravel after initial contact, probe condition, pad material and alignment affect the interface. If a reading is unstable, simply pressing harder isn’t a satisfactory acceptance method. You also need to inspect what happens to the pad. Have the device and probe-card teams agree on the allowable contact mark before running that evaluation.
If the concern is intermittent readings, ask for repeated contacts on representative pads. Keep the measured values, pad images and cleaning record together. Did the reading change after cleaning? Did an unstable contact leave an unusual mark? The exercise can help narrow the investigation without assuming that more contact force will solve it.
| Requirement | Information to provide | Evidence to request |
| Wafer handling | Format, thickness, backside and fragile features | Demonstration using representative samples |
| Electrical contact | Pad drawing, probe arrangement and damage limits | Repeat-contact data and pad inspection |
| Measurement path | Instrument list, signal ranges and interfaces | Integrated measurements against agreed references |
| Temperature testing | Setpoints, dwell requirements and sample condition | Stability and repeatability under the intended procedure |
| Data exchange | Wafer-map convention, bin definitions and file format | Import, export and traceability demonstration |
What will the operator do between measurements? If the answer is to change probes or adjust an experiment, convenient access may matter more than automated handling. A manual station can be reasonable there. If the operator mostly repeats an established positioning sequence, compare that job on a semiautomatic system. Evaluate full automation against the recurring workload and the amount of intervention the process still needs.
Time a complete job during the demonstration. Start at loading and finish at unloading, leaving in the waits for measurement settling and temperature stabilization, as well as any cleaning. Fast stage travel is useful only to the extent that it shortens that complete cycle. It says little about output if most of the time is spent waiting for a stable measurement.
Have the operator set up a second representative design while you watch. Check access to the probes and microscope. For production work, include a stopped recipe: what does the operator have to do to resume, and which settings need to be checked again?
Ask what the temperature display is measuring. If the sensor is in the chuck, how is that reading related to conditions at the device? Review the supplier’s stabilization procedure and its basis. Write that procedure into the test record so that someone repeating the work knows when measurements may begin.
Run the intended temperature sequence during evaluation and inspect the contacts again. Watch for alignment changes as the assembly expands or contracts. For cold work, include condensation control in the discussion. If the proposed procedure calls for dry gas or an enclosure, check that the necessary provision is actually quoted.
Agree on the wafer-map origin, axis directions, orientation and die indexing. Then exchange a sample file and pick identifiable locations to trace through it. Does each exported result land on the correct die? Work through a skipped die, a contact failure and a retest as separate cases, including the final bin assigned to each.
Interrupt one run deliberately, then compare the recovered file with the known map. Look for omitted or duplicate entries. Pick out a contact alarm in the file as well: can the reader distinguish it from a device that was successfully measured and failed its electrical limit?
Write down who owns the instrument drivers, test program, prober commands and file conversion. Don’t leave a blank between two suppliers’ responsibilities unless your own team has agreed to take that work. DEEPETCH’s customisation process provides stages for requirements discussion, sample evaluation and customer confirmation. Put the shared acceptance procedure into those discussions before committing to production.

A concise wafer prober request for quotation should include the following attachments:
Label the non-negotiable requirements in the RFQ. Read exclusions alongside the price, including installation, consumables and support. A reply that says “compatible” should point to the drawing or interface specification it was checked against.
No. Positioning the wafer and making contact does not perform an electrical measurement. You still need the connected test system. An integrated quotation may include both, but check its contents before treating it as a complete setup.
No. Pad geometry, positioning capability, contact technology and the workload must be considered together. Automation level alone does not establish the ability to contact a particular pad layout reliably.
Sometimes, but the transition should be evaluated against both workflows. The access that makes an experimental setup convenient is only part of the decision. Run a representative recurring job as well, including handling and recovery, before drawing conclusions about production use.
Send the wafer prober RFQ and drawings to DEEPETCH’s technical team, along with the acceptance exercise you want to see. Keep the quoted configuration tied to a drawing revision so that later changes have a clear reference point.

Molybdenum copper composite: adjustable CTE, high conductivity, lower density than tungsten copper. No...

Tungsten copper composite: low CTE, high conductivity. Ideal for RF, power, optical packaging.

Diamond-aluminum composite for advanced thermal management. Lightweight, high thermal conductivity, low...
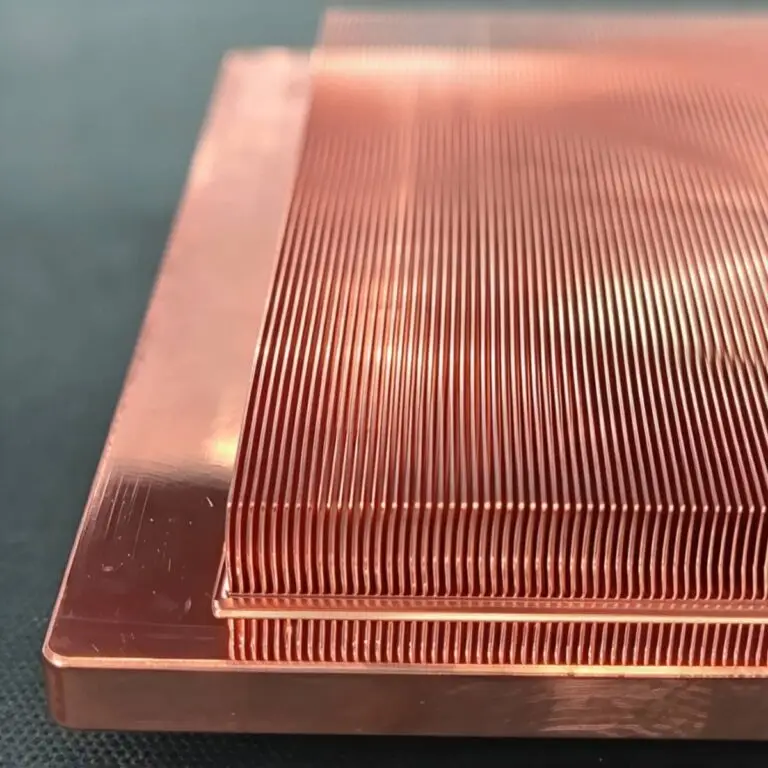
Diamond-Copper Thermally Conductive Composite. High thermal conductivity, tunable CTE, robust.
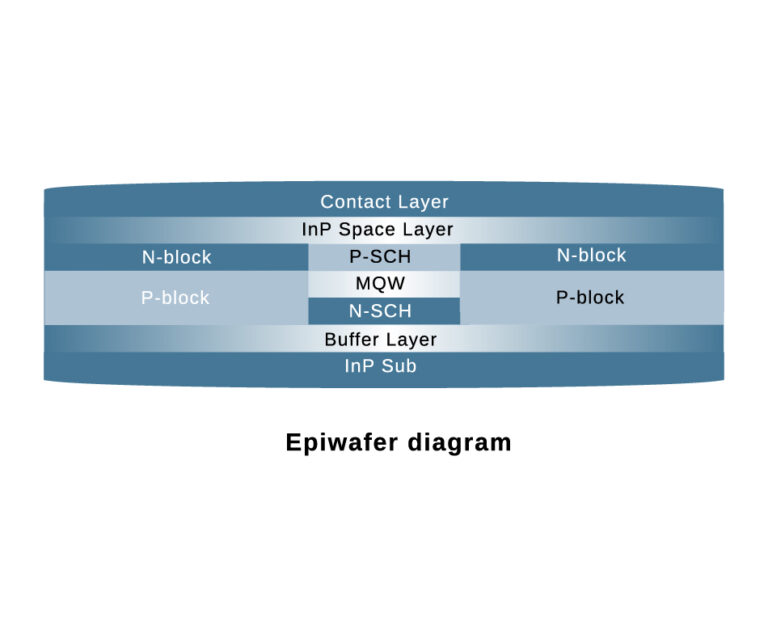
The DE-CW-1310 DFB EPI wafer, a high-performance epitaxial structure designed for distributed feedback (DFB) lasers operating at 1310 nm....
Ceramic thin-filmvacuum sensor Optical gas massflowmeter Liquid mass flowmeter Force sensor MEMS...
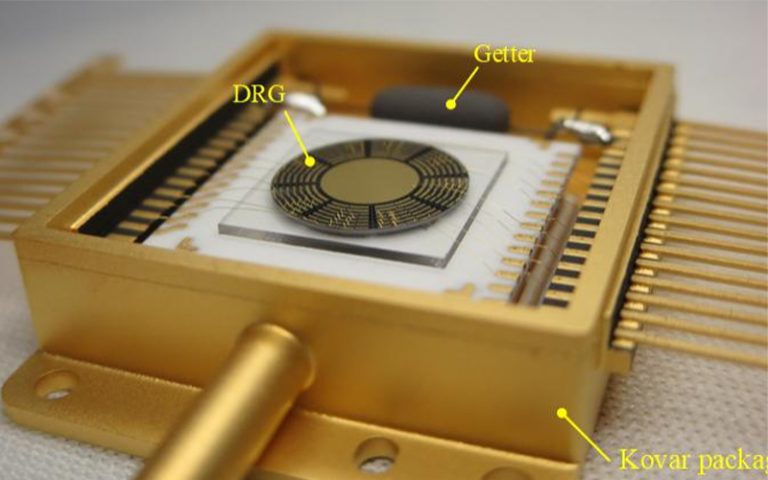
Photoelectric sensing chip Light source chips Optical transmission and modulationchips Optical detection and receptionchips...
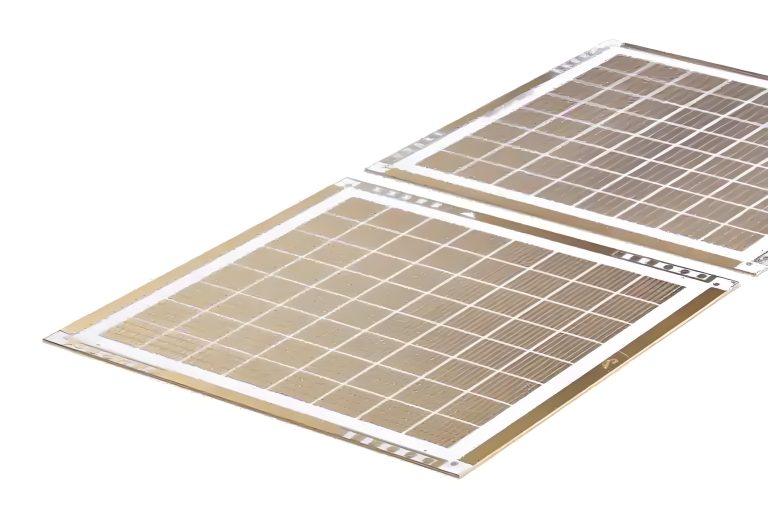
Using a“Detach Core”which has two-layers carrier foil structure on the surface as a core, and forming...
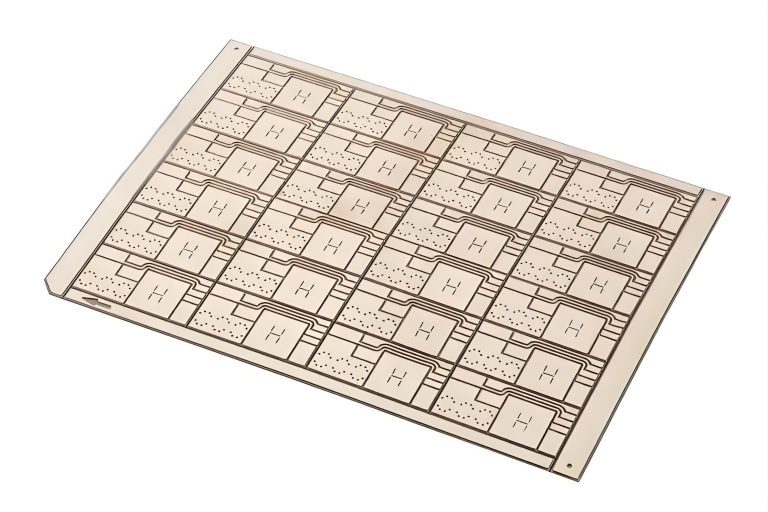
Tenting process is a kind of subtractive process, the process as follows: Laminating photosensitive film...
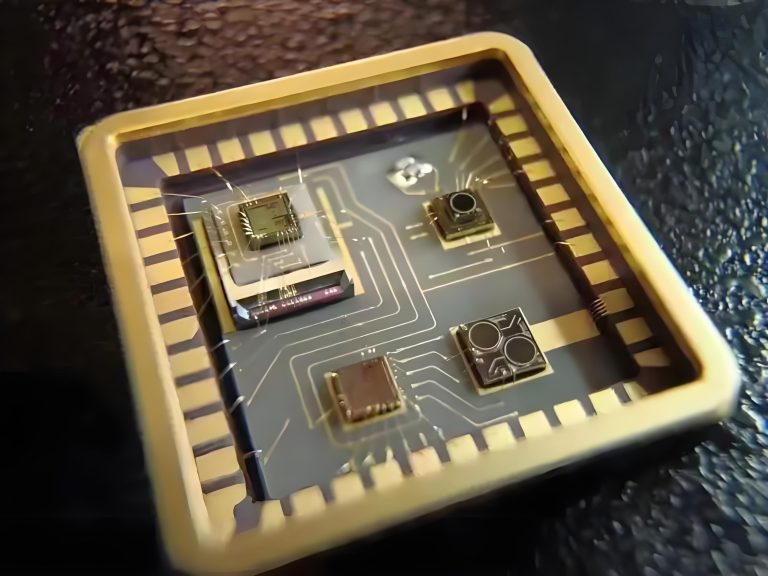
Modified Semi-Added Process abbreviated as mSAP, which can be used on the core or build-up layers, pattern...